10 Html Tags to make Life Easier

Meter Tag <meter>
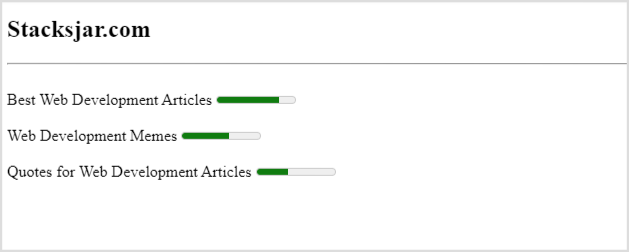
The Meter tag in HTML allows us to represent the data in a graphical format without doing much of coding. The meter tag is used to measure data within a given range. It defines a scalar measurement with range. It is also known as a gauge. It can be used to display metrics info such as quantity of something or showing ratings or marks etc.
Below is an example of Meter Tag <meter>
<h2>Stacksjar.com</h2>
<hr>

<br>
<label for="disk_c">Best Web Development Articles</label>
<meter id="disk_c" value="8" min="0" max="10">8 out of 10</meter><br>
<br>
<label for="disk_c">Web Development Memes</label>
<meter id="disk_c" value="6" min="0" max="10">6 out of 10</meter><br>
<br>
<label for="disk_c">Quotes for Web Development Articles</label>
<meter id="disk_c" value="4" min="0" max="10">4 out of 10</meter><br>
Output:
Wordbreaker Tag <wbr>
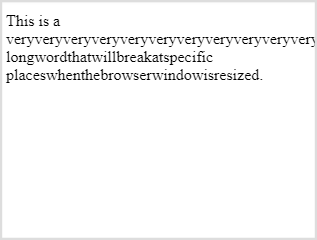
The wordbreaker tag in HTML is used to break a sentence within a paragraph at a particular instance or after a particular work as per our requirements. This tag will come in effect for responsive purposes when we resize the window we will see that the text inside the <wbr> tag will begin in new line apart from being randomly broken from anywhere between sentence.
Below is an example of Wordbreaker tag <wbr>
<p>This is a veryveryveryveryveryveryveryveryveryveryveryveryveryveryveryveryveryvery<wbr>longwordthatwillbreakatspecific<wbr>placeswhenthebrowserwindowisresized.
</p>
Output:
Link Tag that Dials Numbers <a>
If we include "tel" keyword in value of "href" attribute of link tag followed by the number, it will allow the device to initiate a call. The device will call the number when user clicks on the Link. This functionality works on mobile devices, tablets uses software's like skype, face time or devices which supports cellular calling.
<a href="tel:1234567890">Call Us</a>
Fieldset Tag <fieldset> and Legend Tag <legend>
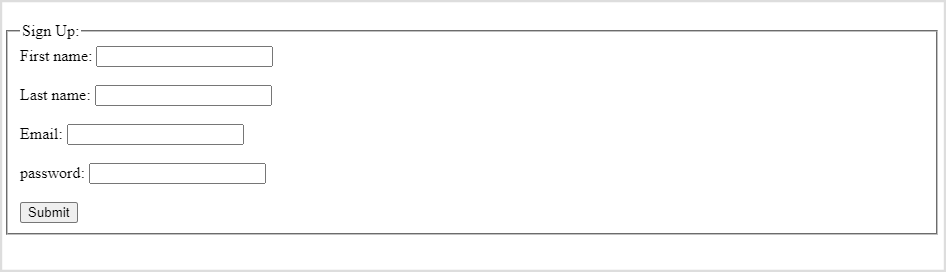
The fieldset tag in HTML is used to specify a group of form elements. And the Legend Tag is used to define the title for the child contents. The legend elements are the parent element. This tag is used to define the caption for the fieldset element.
Below is an example of Fieldset tag <fieldset> and Legend Tag <legend>
<form>
  <fieldset>
    <legend style="float:right">Sign Up:</legend>
    <label for="fname">First name:</label>
    <input type="text" id="fname" name="fname"><br><br>
    <label for="lname">Last name:</label>
    <input type="text" id="lname" name="lname"><br><br>
    <label for="email">Email:</label>
    <input type="email" id="email" name="email"><br><br>
    <label for="password">password:</label>
    <input type="password" id="password" name="password"><br><br>
    <input type="submit" value="Submit">
  </fieldset>
</form>
Output:
Open Link in New Tab <a>
The "target" attribute of link tag allows us to decide whether the link should be opened in new tab or the same tab the user is in. If we pass in the value "_blank" to the target attribute it will open the link in new tab when user clicks on the particular link
<a href="https://stacksjar.com/memes" target="_blank">Web Development Memes</a>
Code Tag <code>
The code tag in html allows to define a fragment of code in the html. Which will be displayed in a code editor view/format in the browser.
Below is the example of Code tag <code>
<code>
function print() {

 console.log("High Quality Practical Resources to skill up your Web Development Career and Boost your           Productivity");

}
</code>
Output:

Keyboard Tag <kbd>
The <kbd> tag is also know as keyboard tag. HTML keyboard tag represents the part of inline text which indicates the user keyboard input, voice input, or any other text entry device input. The keyboard text renders on the browser in default monospace font. This tag is used when a document needs to display the text which user should enter exactly from his keyboard.
Below is the example of keyboard tag <kbd>
<p>Save this File by Pressing <kbd>Ctrl + S</kbd></p>
Output:

Details Tag <details> and Summary Tag <summary>
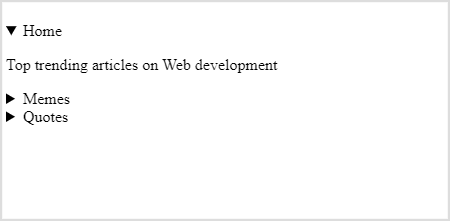
The Details tag in HTML is a useful feature it is a kind of accordion which opens and closes with user click and shows the data within it. The details tag is used with the summary tag within it. Summary Tag is the one which will display the short description you wish to show to the user before clicking on it. The details tag is often used to create an interactive widget that the user can open and close. By default, the widget is closed. When open, it expands, and displays the content within.
Below is the example of details tag <details> and summary tag <summary>
<details>
  <summary>
  Home
  </summary>
  <p>Top trending articles on Web development</p>
</details>

<details>
  <summary>
  Memes
  </summary>
  <p>Best Web development Memes</p>
</details>

<details>
  <summary>
  Quotes
  </summary>
  <p>Best Quotes on Web development</p>
</details>
Output:
Sample Tag <sample>
The sample tag is used to define sample output of a code. The content inside is displayed in the browser's default monospace font. This tag looks similar to the keyboard tag
Below is the example of sample tag <sample>
<p><samp>File not found.<br>Press F1 to continue</samp></p>
Output:

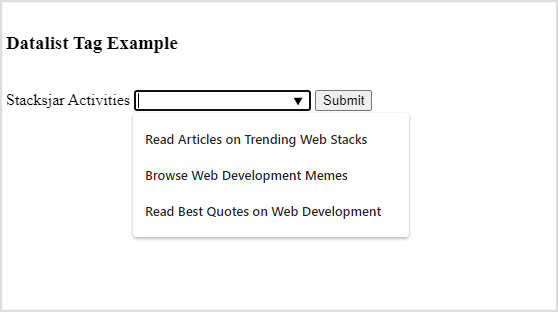
Datalist Tag <datalist>
Datalist tag in HTML defines a predefined set of options for a input from which user can select a particular option. The Datalist tag provides an autocomplete feature to the user in which user can either select from the predefined options or type one of its own. It is a kind of dropdown like appearance which provides an ease of access to user.
Below is the output of the Datalist tag <datalist>
<form>
 <label for="activity">Choose your Activity</label>
 <input list="activities" name="activity" id="activity">
 <datalist id="activities">
  <option value="Read Articles on Trending Web Stacks">
  <option value="Browse Web Development Memes">
  <option value="Read Best Quotes on Web Development">
 </datalist>
 <input type="submit">
</form>
Output:
Hope you find this post Useful.
Happy Coding!

